I was an upper elementary classroom teacher for 18 years. When I was in the classroom I served as a Team Leader, Teacher Mentor and was affectionately named the ”Sage” for new teachers.
I know how stressful teaching can be. We try to do it all to make sure our kids are learning and doing their very best.
Add Formal Observations to the mix and our stress level goes to the roof!
The three steps listed in this below are the steps I personally used over the years for each of my successful and highly effective observations.
I hope they will help you get through this stressful process with ease.
Step 1: Establish clear routines with your students
Your classroom should be a well-oiled machine, where students know the rules and procedures like the back of their hands.
- When can they use the rest room?
- What level of volume should they use when working in a cooperative group?
- When can they sharpen a pencil?
- If the group has a question, who is responsible for asking the teacher?
If you feel your students may have forgotten the classroom rules, make it a priority to review and practice these with them ASAP.

Step 2: Schedule your observation during a series of lessons.
- During an observation, admins want to see that students are using their prior knowledge. Some teachers make the mistake of being observed during a new, isolated lesson that doesn’t correlate with the standards being taught in class.
- If you have been teaching Main Idea and Supporting Details, choose a lesson that focuses on this standard. Don’t throw in Figurative Language because you think you need to reinvent the wheel. This will cause chaos and confusion. (Trust me, I’ve heard so many stories of this happening.)
- Or if you want to do an experiment as part of your observation… make sure the students have the background knowledge and that they have conducted experiments in class before. Yes, Pinterest might have that extra cool, amazing experiment that will “wow” the crowd. BUT if you have never done an experiment before OR if it has nothing to do with the current standards being taught … it could prove to be disastrous!

Step 3: Set up your cooperative groups in advance.
- This is the MOST important part of your prep work. It is essential that groups are balanced and have various types of learners and personalities.
- In the past, I have used color pencil sticks to create my groups. Leaving your groups up to chance might make some kids happy, others extremely annoyed, and you pounding your head wondering why you did this.
- My advice, grab a stack of post-it notes and write each student’s name on a paper. Create 4 to 5 groups (depending on the size of the class). Move post-it notes around until they are well balanced. Then assign each group a different color.
How to Create a Well-Balanced Group
- Have a discussion leader (someone who enjoys engaging in conversation and leading the group) in each group.
- Students who argue or don’t get along should be separated.
- Students with special needs are paired with a buddy.
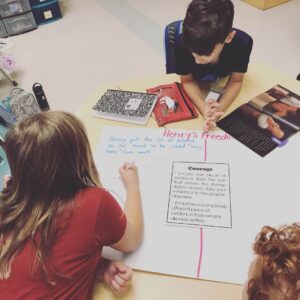
- When it is time for groups to begin working, give each student a card that matches their group color. Tell students with the same color to go to a specific station. The kids will think its random.. but you will know the real deal.


